
PAPER PUMPKINS
(I made five pumpkins total. It took 12 sheets of orange 12x12 paper, and less than one sheet of green 8.5x11 paper to do so, with a strip or two of the orange left over)

*I chose to hang up my pumpkins with fishing wire, how you display them is your choice*
For starters, you'll need a few 12x12in sheets of orange cardstock, one 8.5x11in sheet of green cardstock, scissors (optional), a paper cutter, pen or something to write with, and a stapler.

Cut the 12x12in orange paper into twelve 1in strips. Then cut one strip (per pumpkin) of the 8.5x11in green paper. *make sure the green paper is positioned landscape to cut top the bottom. Each strip should only be 8.5in long*


The measurments for the orange paper:

- one at 8in
- two at 9in
- two at 10in
- two at 12in (or un-trimmed)
The measurements for the green paper:
- one at 8.5in
Once you have your strips cut and ready, gather one of each of the 9in, 10in and 12in.

Line up the ends of all three and staple once

Then line up the other end of all three. It will look like this below.
Do that the the second set of the 9in, 10in and 12in.
After all four ends are been stapled, you'll have what is pictured below.
Two halves and a single strip left at 8in.

Line up the top ends so one of the half pieces will reflect the other, and place the single strip in-between (as shown above) then staple. That single strip in between the two is what will keep the pumpkins shape from changing. Once done with the top end pieces, align and staple the bottom end pieces. Fair warning, it will be a bit tricky, just keep a tight grip all you'll do great!

You're pumpkin is coming together! Just one little bit left to finish it off. The stem!
For the stem, you'll need that single strip of green paper,
and a pen or other small rounded object to curl the paper around.

Curl the paper around the pen (or object of your choosing)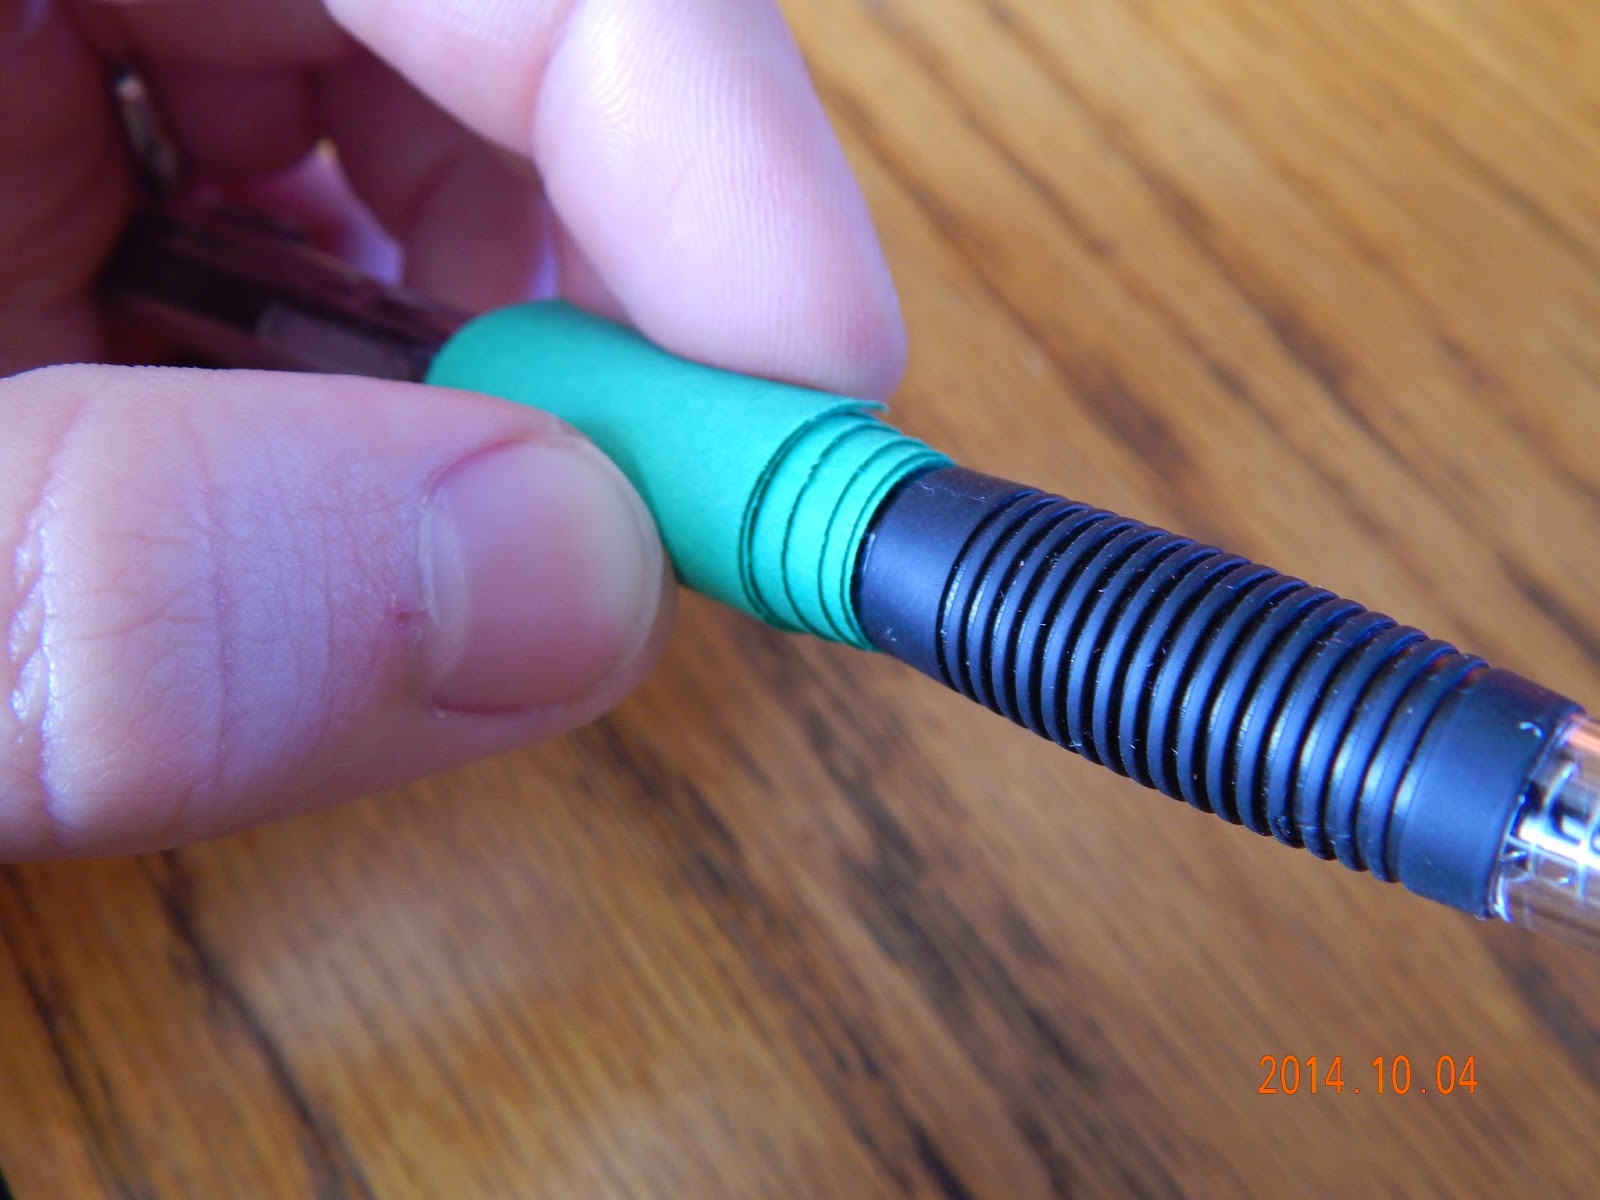
Once unraveled cut in-half

You'll have these.

Place them on either side of your pumpkins ends...
Staple! (sometimes twice is smart just to keep in place)

Annna....ladies and gents, I give you you're finished project! (baby below not included)

Just our lil' Emma walkin' around with no pants on

No comments:
Post a Comment